At Builders Outlet, we have all your bases covered for both residential and commercial doors. Whether you need to replace an interior hollow door at your Denver home or install a 90 minute, fire-rated steel door in a commercial space, Builders Outlet has it all. Simply talk to one of our friendly team members about your specific requirements, and we’ll set you up with exactly what you need.
Of course, if you have an odd size opening or special request, we have a fully-equipped mill shop where we can modify and customize any door to meet the needs of your project. Whether it’s mortising hinges into an existing door slab or cutting down and re-railing a door to a certain size, we deliver.
Call or stop by for residential and commercial doors – no project is too big or too small.

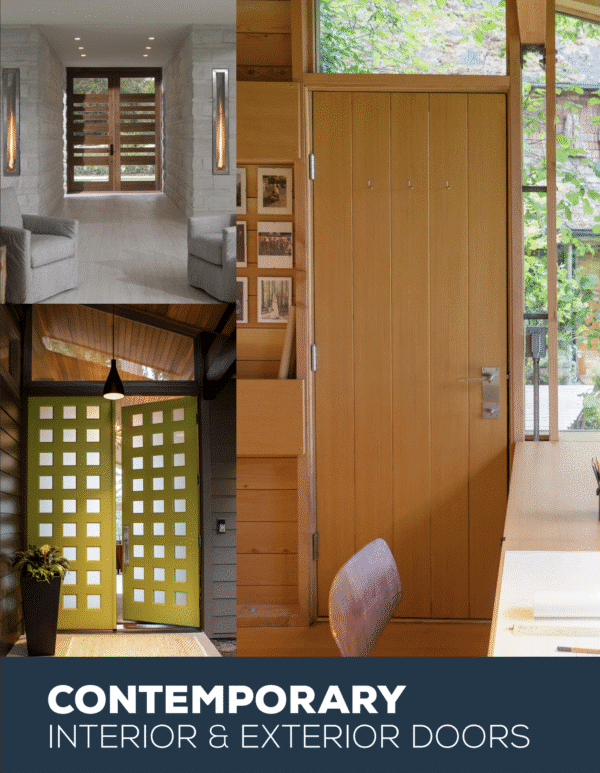
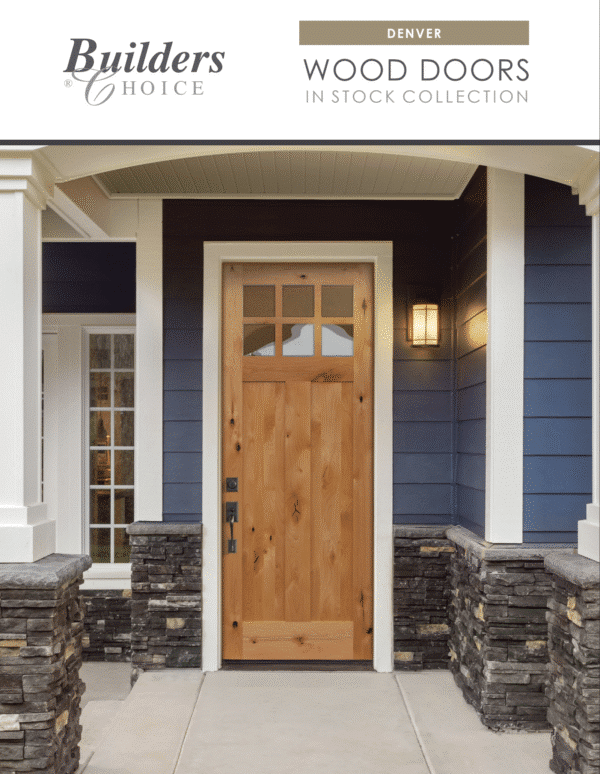
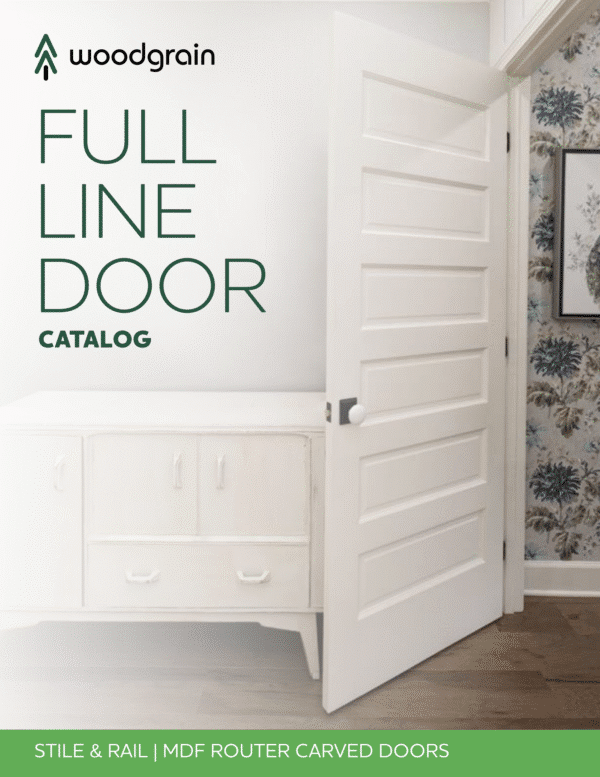
At Builders Outlet we offer all of the leading brands of home doors perfect for your home, just click to download the catalog.
A Door Isn’t Just a Door, It’s a Statement
When it comes to residential and commercial doors, there are many options to choose from. Here are just a few styles that Builders Outlet offers.
Panel Door – This is classic style is made of three or four horizontal rails and three vertical stiles. Between them are thinner panels surrounded by decorative molding (or a representation of it) called “sticking”. The result is a richly textured look that works well in both traditional and modern settings.
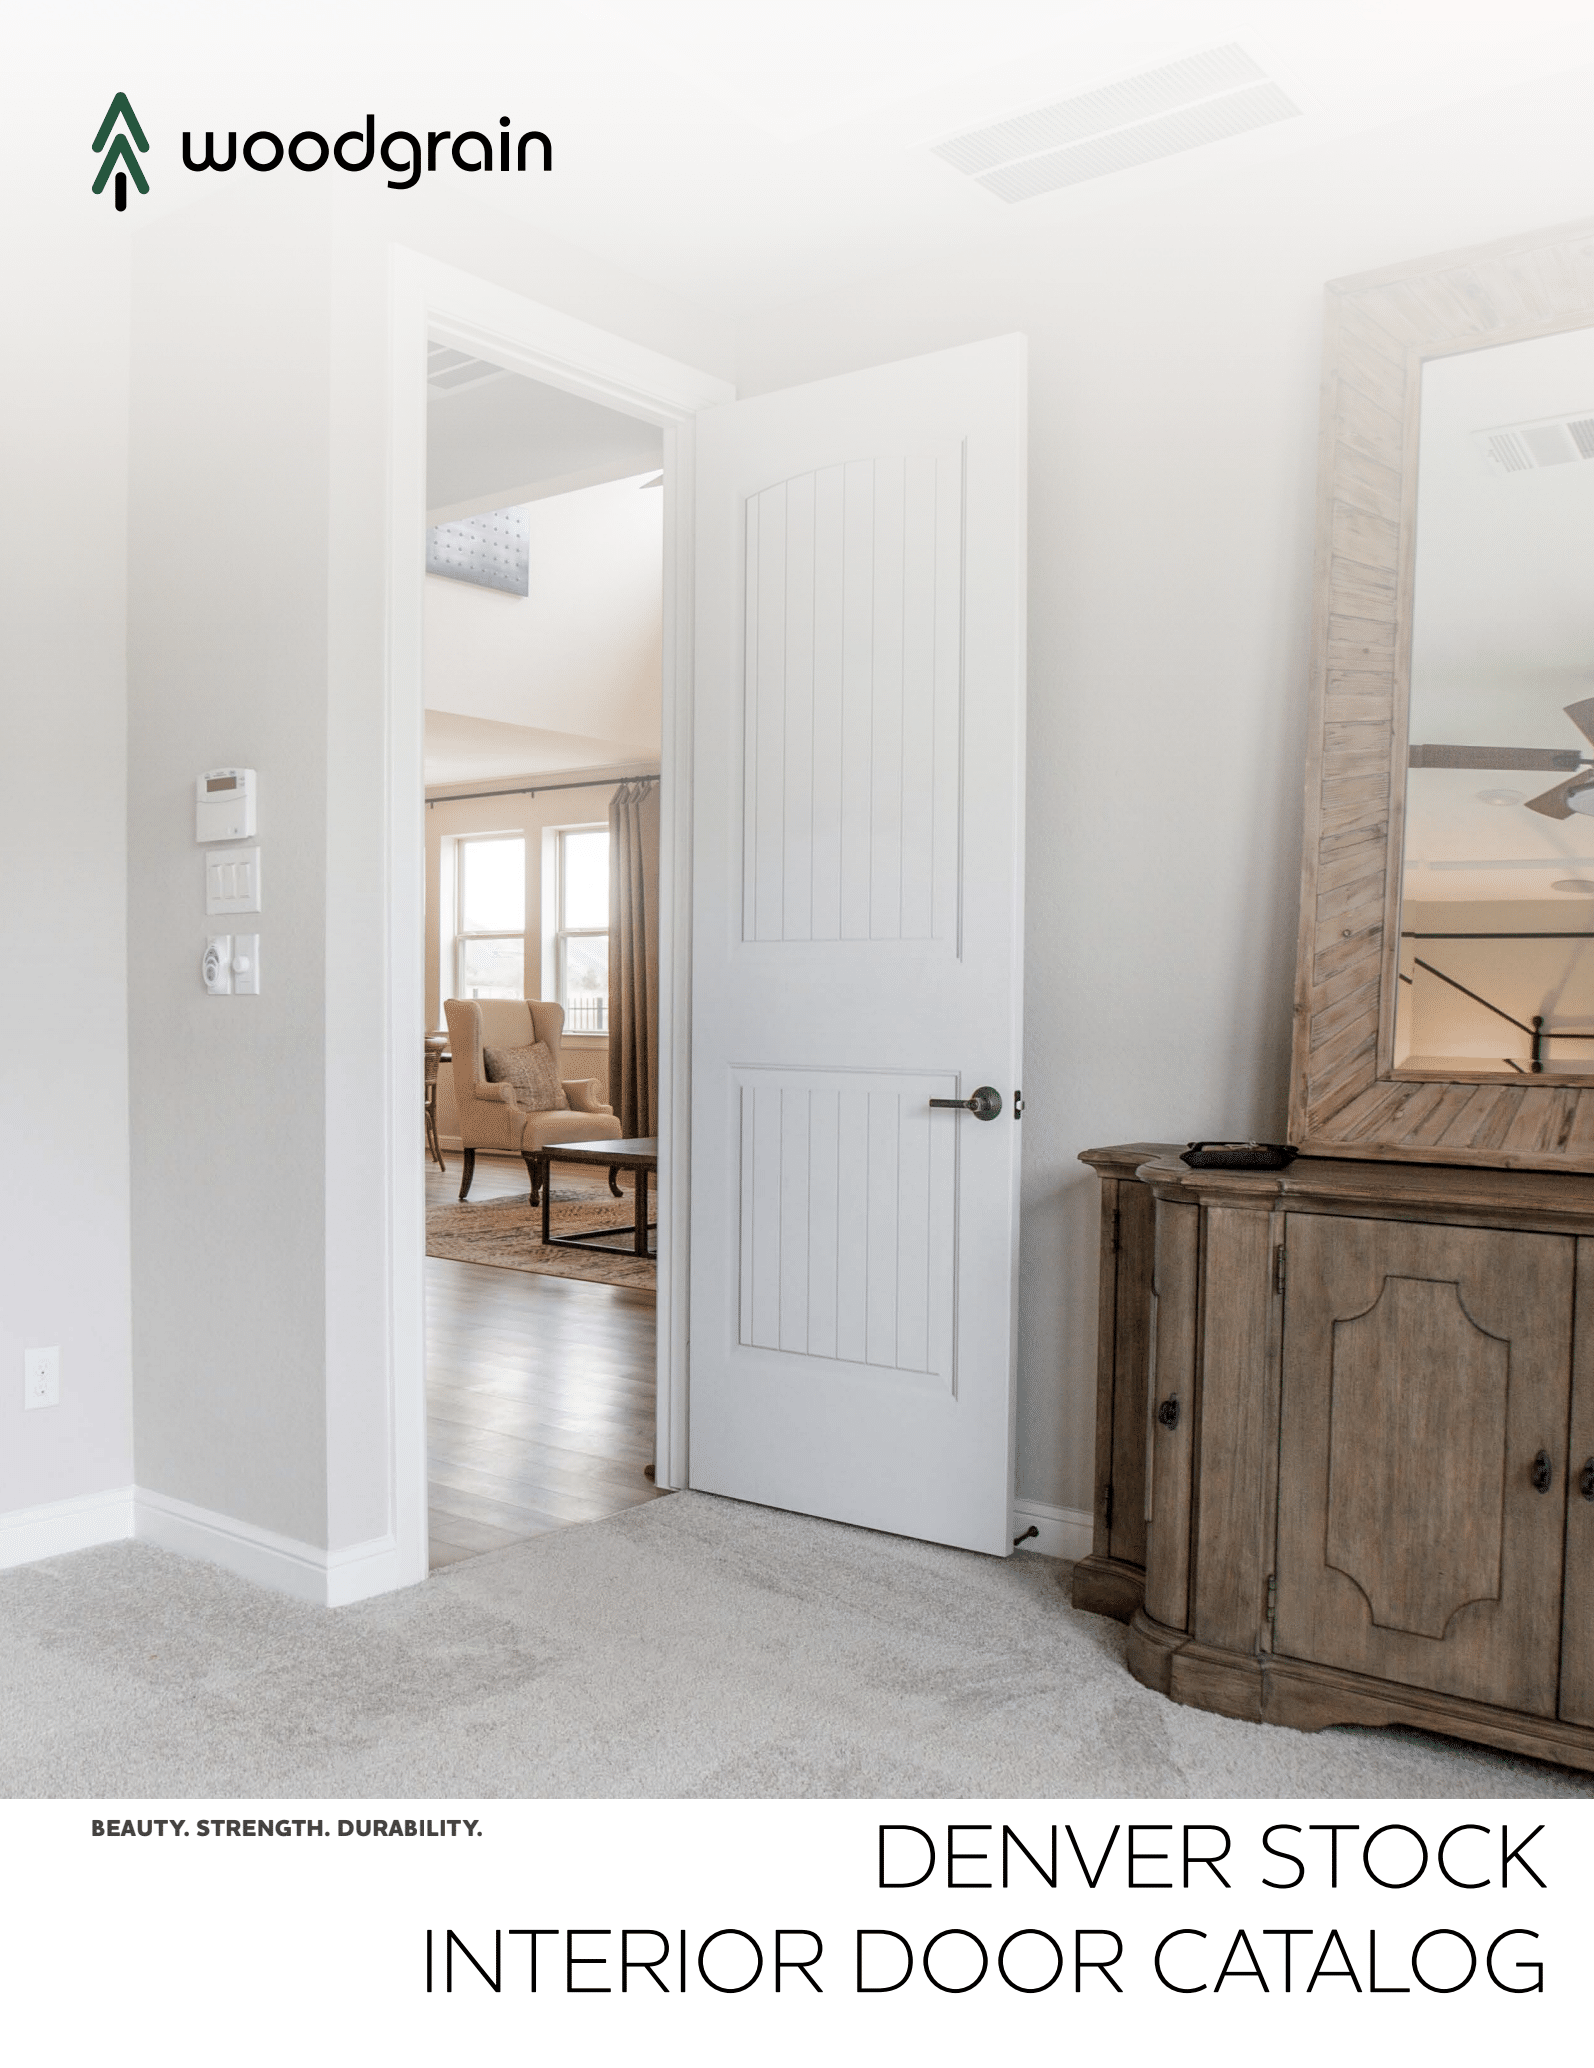
Flush Door – An economical choice, this is a simple flat slab. If the surface is a hardwood veneer (usually birch or oak), it can be stained, but other materials look best painted. Flush doors blend well with contemporary settings and may look out of place in a traditional home. Interior flush doors are often hollow core, while exterior flush doors are solid and may have a metal or fiberglass face rather than wood veneer.
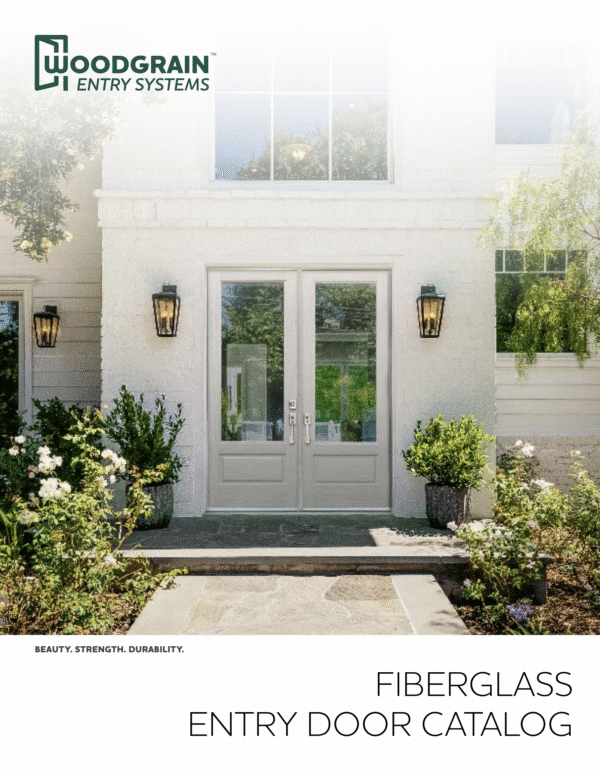
French Doors – These come as pairs, adding a charming touch and an extra-wide doorway opening to a home. These doors are almost always traditional in design and often have glass panels. French doors are most commonly used as exterior patio doors but make a stunning passageway between rooms.
Pocket Doors – Found in many older homes, pocket doors have made a big comeback. This interior door allows you to completely open a doorway without taking up floor space. Because they slide into the wall when fully opened, you’ll need wall space without electrical or plumbing lines running through it.
Let’s Start with Opening Measurements
To best fit, your framework, bring along the rough opening size when you visit our Denver showroom to purchase prehung residential and commercial doors. This will give you room to space the door frame off the sub-floor, as well as spare you from installation frustration. We’ve provided you with these instructions (on the right) to help you capture the right information so that you can size your new door project.
To calculate rough opening sizes, simply add 2” to the width of the actual door size and 2 ½” to the height. For example:
- You have a bedroom door that is 30″ wide – that’s 2’6” and considered 2/6
- The bedroom door is also 80” in height – that’s 6’8” and considered 6/8
- Add 2” to the width and 2 ½” to height, and you have a 32” x 82 ½” rough opening
From this point, one of our friendly and knowledgeable staff members at Builders Outlet can help you choose the perfect residential and commercial doors for your specific needs and budget.
